what are the 7 steps in Full Automatic Processing Screen Printing?
Full Automatic Processing Screen Printing has become a game-changer in modern manufacturing, addressing the inefficiencies of traditional manual screen printing. For businesses exploring this technology, understanding its uses, classifications, and core steps—especially “what are the 7 steps in Full Automatic Processing Screen Printing?”—is key to leveraging its value.
1. Uses of Full Automatic Screen Printing Machine
Main Uses: Full Automatic Processing Screen Printing serves diverse industries due to its versatility:
•Packaging Industry: Prints logos, product details, and decorative patterns on packaging materials (e.g., plastic bags, metal cans, cartons), boosting product visibility.
•Electronics Industry: Applies conductive inks to circuit boards, sensors, and electronic components, ensuring stable performance of devices like smartphones and wearables.
•Textile Industry: Handles large-scale fabric printing (cotton, polyester, blends) for clothing, home textiles, and promotional items, delivering long-lasting, vibrant designs.
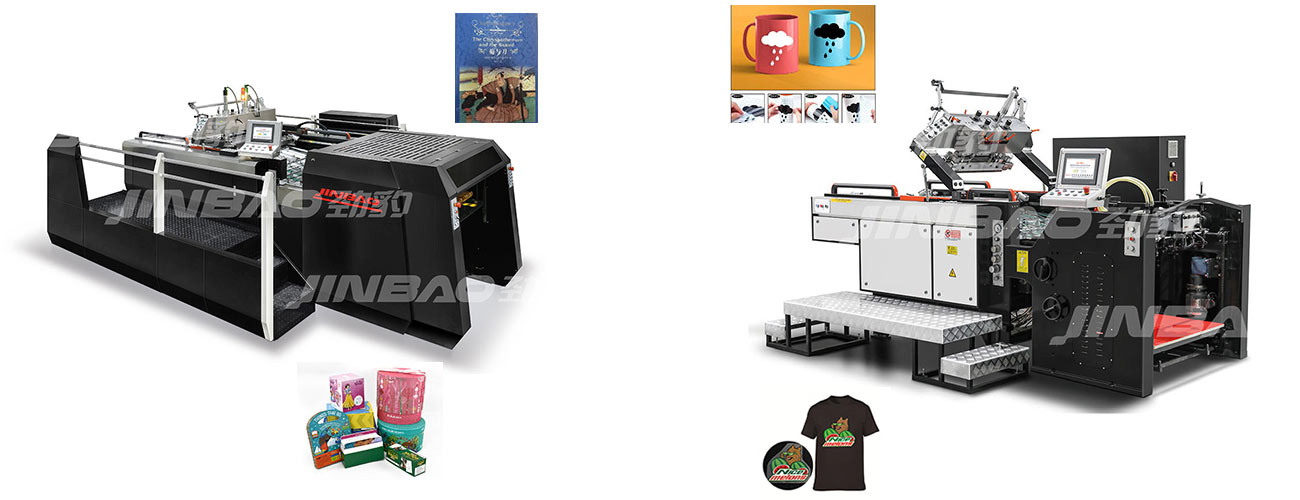
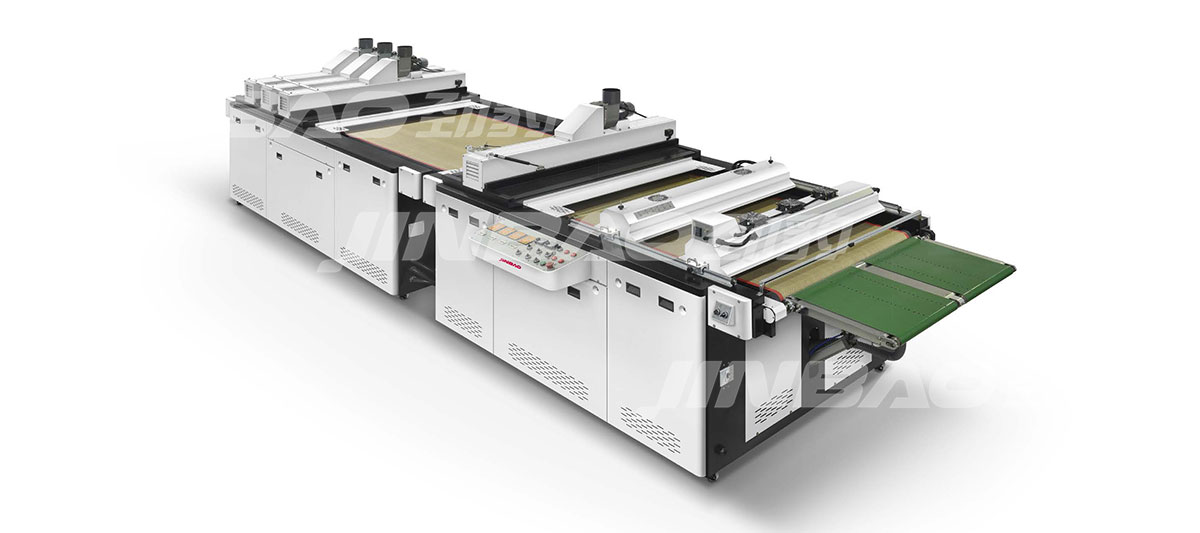
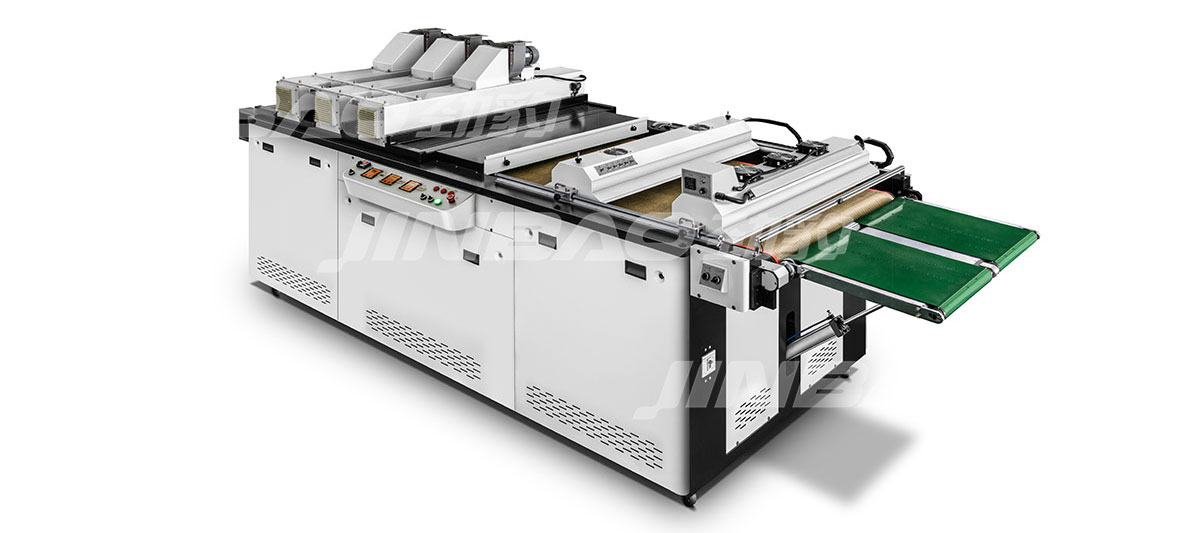
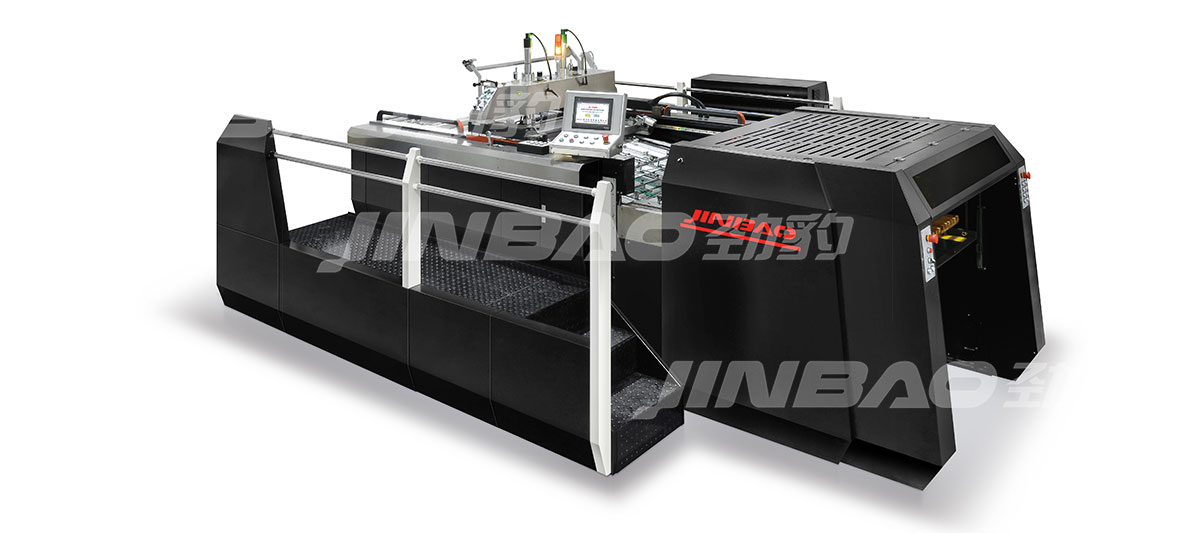
2. The 7 steps in processing screen printing
Step 1: Original Design Creation
se professional software (e.g., Adobe Illustrator) to design patterns or text. This step defines the final print effect and is critical for subsequent processes.
Step 2: Screen Making
Coat a mesh screen with photosensitive emulsion, expose it to the designed pattern, and rinse to form a stencil—this stencil controls where ink passes through during printing.
Step 3: Equipment Debugging
Adjust the full automatic machine’s parameters (printing speed, pressure, ink viscosity) to match the substrate type (e.g., thick metal vs. thin fabric) and design requirements.
Step 4: Substrate Feeding
The machine’s automatic conveyor system feeds substrates to the printing station evenly, ensuring no misalignment between each piece.
Step 5: Ink Application
The machine presses ink through the stencil onto the substrate. Its automatic ink control ensures uniform coverage, avoiding too much or too little ink.
Step 6: Drying and Curing
Printed substrates enter a drying/curing tunnel (using heat or UV light) to fix the ink. This step enhances ink adhesion and prevents fading.
Step 7: Finished Product Inspection
Automatic detectors check for defects (e.g., ink smudges, misprints). Qualified products move to packaging; unqualified ones are sorted out to ensure quality.
3. Advantages
•High Efficiency: Full Automatic Processing Screen Printing automatic operations reduce manual work, enabling continuous production. It handles far more substrates per hour than traditional methods, suitable for large orders.
•Precision: Advanced sensors and control systems ensure consistent pattern alignment and ink thickness, keeping defect rates at a low level.
•Cost Savings: Less labor and reduced ink waste (from accurate control) lower long-term production costs, ideal for medium to large batches.
conclusion
In short, Full Automatic Processing Screen Printing is indispensable for industries like packaging, electronics, and textiles. Its clear classifications adapt to different substrates, and the 7-step process guarantees stable, high-quality prints. Understanding “what are the 7 steps in Full Automatic Processing Screen Printing” helps businesses optimize production and stay competitive.If you want to know more about Full Automatic Screen Printing Machines or have purchasing needs, please feel free to contact JINBAO. Also, you can click Back to JINBAO Homepage to explore more interesting content.