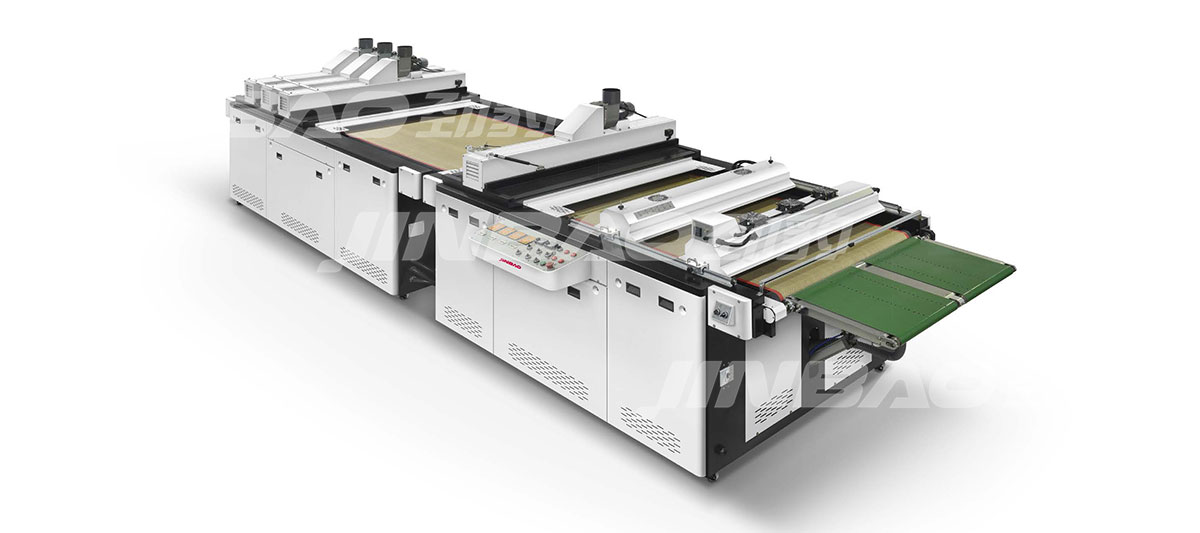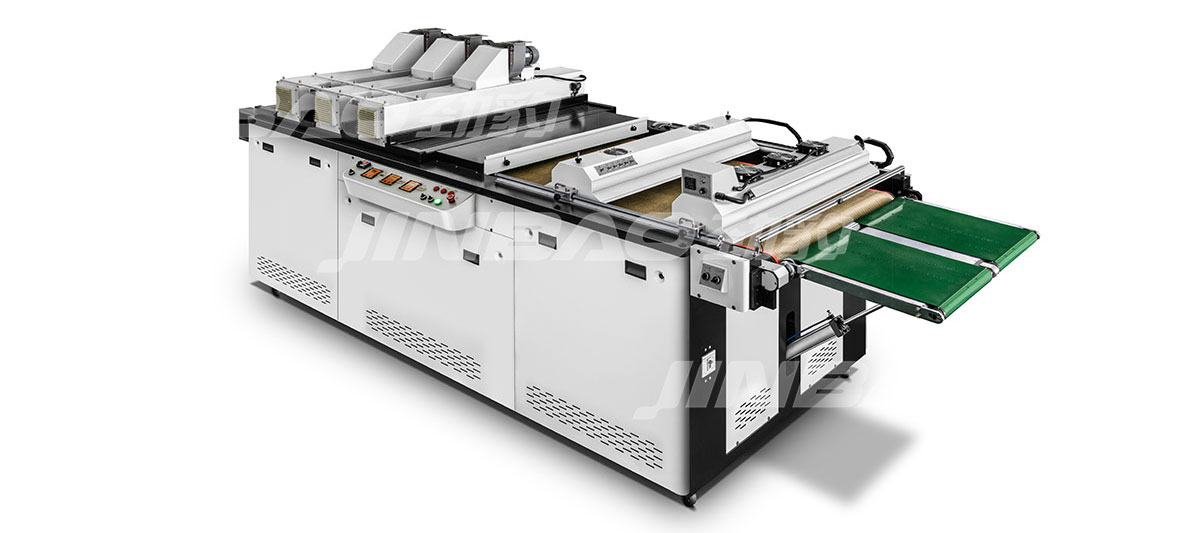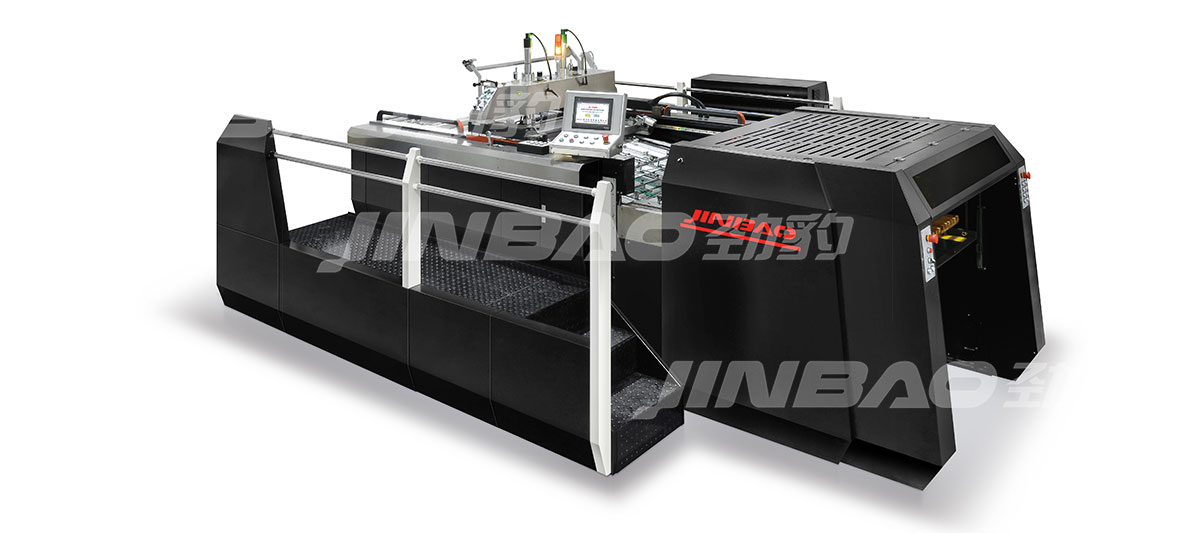
How to Maintain Your Full Automatic Screen Printing Machine
In many busy print shops, the start of a shift doesn't always go as planned. An operator powers up the press, loads the screens, and initiates the first cycle. Instead of the steady, rhythmic indexing of pallets, there's an unfamiliar noise—a pneumatic cylinder hesitates, registration drifts slightly, and what should have been a productive morning turns into troubleshooting. These interruptions rarely come out of nowhere. More often, they trace back to small maintenance tasks that were postponed or overlooked—a filter not changed, a sensor lens left dusty, a lubrication point missed during the previous week's routine.
Most unexpected failures aren't the machine's fault. They trace back to small, accumulated maintenance gaps—a missed lubrication point, a filter that should have been changed weeks ago, a sensor lens that nobody thought to wipe down. When a high-output automated press runs ten or twelve hours a day, minor neglect compounds into hours of downtime.
The difference between shops that run three shifts without incident and shops that lose afternoons to unplanned repairs isn't the age of the equipment. It's the maintenance routine. Here is a structured, practical maintenance plan you can adapt to your specific setup, whether you're running a single machine or a whole line.
Daily Checks: The First Fifteen Minutes
Before the first job starts and after the last job finishes, fifteen minutes of attention prevents hours of troubleshooting. The daily routine doesn't require deep mechanical knowledge. It's about observation, cleaning, and catching issues before they affect print quality.
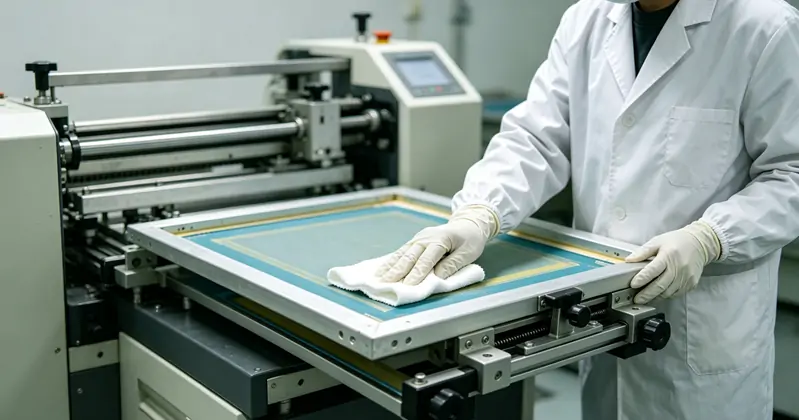
Clean the pallet surfaces. Adhesive residue, lint, and ink dust build up with every cycle. A dirty pallet means boards shift during printing, and that misregistration gets blamed on everything except the surface. Use a manufacturer-recommended pallet cleaner and a scraper. Don't let layers accumulate.
Wipe down the print heads and squeegee/flood bar holders. Ink mist travels. It settles on clamps, rails, and adjustment knobs. Over time, it hardens and interferes with movement. A quick wipe with a compatible solvent on a rag keeps adjustments smooth.
Check the pneumatic system moisture trap. Compressed air carries water, especially in humid shops. If the moisture trap is full, drain it. Water in airlines causes sluggish cylinder movement and, over time, internal corrosion in valves and cylinders.
Inspect the screen frame clamps. Loose clamps cause the screen to shift minutely during the stroke, producing ghost images or inconsistent registration. A daily visual check takes seconds.
Verify registration alignment. Run a test print on a scrap board. Check it against the film positive or a known-good sample. If registration is drifting, catch it now, not at 2 PM, when 500 pieces are printed.
Listen to the machine. As you run the test cycle, listen for changes in sound. A hiss that wasn't there yesterday, a thump during indexing, a squeak from a bearing. Operators who know their machine's normal sound can detect a problem weeks before it becomes a breakdown.
These daily tasks aren't time-consuming. Once they become a habit, they're done in the time it takes the emulsion to dry on the next set of screens. The payoff is that weekly and monthly maintenance uncovers fewer surprises.
Weekly Routines: Preventing Gradual Drift
Some problems develop slowly. A belt stretches imperceptible. A bearing dries out. An electrical connection loosens from vibration. Weekly maintenance catches these gradual shifts before they affect output.
Lubricate all grease points. Every machine has designated lubrication points—linear rails, indexer mechanisms, squeegee carriage guides. Refer to the manufacturer's lubrication chart. Over-greasing is as harmful as under-greasing; it attracts dirt and can force its way into seals. Use the specified grease type. Generic grease may break down under the heat or load of continuous operation.
Check belt tension and condition. Servo-driven presses rely on timing belts for precise registration. A loose belt introduces backlash, which reduces registration accuracy. Use a tension gauge if the manufacturer specifies one. Inspect belt teeth for cracks or wear. A belt that fails during a run can cause a collision between the print head and pallets—damage that takes days to repair.
Clean and inspect sensors and switches. Most automated presses use optical or proximity sensors for pallet detection, index position, and safety interlocks. Dust and ink mist coat sensor lenses, causing false readings. Wipe them gently with a clean, dry cloth. Check that safety interlocks engage and disengage smoothly.
Inspect the squeegee and the flood bar rubber. Worn, nicked, or hardened rubber changes ink deposit thickness and edge definition. Measure the edge sharpness if you have a durometer. Rotate or replace blades that show visible wear. A dull squeegee forces operators to increase pressure, which wears the mesh faster and distorts the print.
Check screen frame flatness and mesh tension. As screens are used and reclaimed repeatedly, frames can twist, and mesh loses tension. A tension meter reading below the process threshold means inconsistent off-contact distance and poor release. Flag low-tension screens before they reach the press.
Monthly and Quarterly Maintenance: Going Deeper
Monthly tasks reach components that daily and weekly routines don't touch. They require more time—perhaps an afternoon—and a planned production pause. Schedule them in advance.
Inspect and clean the electrical cabinet. Switch off and lock out power. Open the cabinet and look for dust accumulation on circuit boards, cooling fans, and connections. Use a low-pressure, dry-air blower or a vacuum designed for electronics. Check that all terminal screws are tight—vibration loosens connections over time. Look for any discolouration on components, which can indicate overheating.
Check and calibrate the indexer. The indexer positions pallets under each print head with high repeatability. Over time, mechanical wear or belt stretch can shift the stopping position. Use a dial indicator to measure pallet positioning accuracy. If the indexer overshoots or undershoots, refer to the manufacturer's calibration procedure. Some modern systems allow digital offset adjustment.
Service the pneumatic system. Beyond draining the moisture trap daily, replace the air filter element if it appears discoloured. Check all fittings for leaks with soapy water—bubbles reveal a leak. Check cylinder rod seals for oil leakage. A leaking cylinder may still function, but it works harder, slows down, and eventually fails.
Clean ink trays and flood bar channels thoroughly. Dried ink builds up in corners and along edges, contaminating fresh ink and causing print defects. Remove trays, soak them if needed, and scrub them clean.
Inspect flash cure units and IR panels. If your press has integrated curing stations, check heating element operation. A failing element causes under-cured prints. Clean reflectors and remove any ink mist residue that reduces heat transfer efficiency.
Review error logs if the machine has a control system that records faults. Patterns in error codes can point to developing issues—a specific print head fault recurring, or an indexer timeout increasing in frequency. This data is often overlooked but is one of the most valuable diagnostic tools available.
Troubleshooting Common Issues Before They Escalate
Even with diligent maintenance, issues arise. The goal of a good maintenance program is to make them rare and, when they do appear, to recognise them quickly and address root causes rather than symptoms.
Registration drift within a run. If registration starts well but degrades over a few hundred prints, suspect heat expansion. Screens and frames heat up from flash units and friction, causing minute dimensional changes. Check that flash units aren't overheating the screen. Ensure adequate cooling time between stations. Also check for loose screen clamps or pallet adhesive failure.
Inconsistent ink deposit. If the same screen prints differently on different pallets, check pallet levelness and parallelism first. Then check squeegee pressure consistency across the print head. If one side deposits more ink, the squeegee holder may be uneven, or the pallet may not be flat.
Ghosting or double image. This often traces to screen movement during the print stroke. Tighten clamps, check that the screen frame sits flat in the holder, and verify that the off-contact distance is uniform. If the screen is too loose, it can snap back against the stencil during the flood stroke, causing a second faint image.
Pneumatic sluggishness. Slow cylinder movement, especially when the shop is cold or humid, points to water in the lines or insufficient lubrication. Start with the moisture trap and the air filter. If those are clear, check the flow control valves on the cylinders. They can become clogged with debris from the airline.
Machine stops mid-cycle. Check safety interlocks first. Then check sensor positions—a pallet sensor knocked out of alignment will halt indexing. If no obvious cause, review the control system error log. Intermittent faults like a failing proximity sensor can be hard to diagnose without the log history.
Building a Maintenance Schedule That Sticks
A maintenance plan that exists only in a binder is not a plan. The most effective shops integrate maintenance into daily workflows and make it everyone's responsibility, not just one technician's.
Create a checklist specific to your machine. Generic lists are a starting point, but your machine, your inks, your production volume, and your shop environment are unique. Work from the manufacturer's manual and customise it. Laminate the checklist and post it at the machine.
Train operators to perform daily and weekly checks. The person running the machine every day is the first line of defence. They notice sounds, smells, and small changes that a maintenance technician who visits once a month won't catch. Empower them to flag concerns.
Stock critical spare parts. Belts, sensors, squeegee rubber, flood bars, common pneumatic fittings. Waiting three days for a replacement belt costs more than keeping one on the shelf.
Keep records. A simple log—date, task performed, parts replaced, any observations—helps identify patterns. If a particular bearing fails every eight months, you can plan a replacement during scheduled downtime instead of reacting to a breakdown.
For shops looking to minimise maintenance burden from the start, certain design features in newer automated printing equipment reduce the need for frequent intervention. Sealed linear bearings, centralised lubrication systems, and digitally controlled indexers with self-diagnostic capability are examples. When you're evaluating a new press, asking about these features can save substantial time over the machine's life. Explore printing press configurations designed for easier daily upkeep.
When to Call for Service and When to Handle It In-House
There's a line between routine maintenance and service that requires a trained technician. Knowing where that line sits for your shop prevents both unnecessary service calls and dangerous DIY repairs.
Tasks you can typically handle in-house: cleaning, lubrication, belt tension adjustment, sensor cleaning, squeegee replacement, pneumatic filter changes, screen frame inspection, and surface-level calibration using the machine's built-in controls.
Tasks that may require a qualified service technician: servo drive tuning, control system firmware updates, major indexer recalibration requiring specialised tools, electrical fault diagnosis beyond terminal tightening, and any repair that involves opening a sealed component under warranty.
Before calling for service, document the symptoms precisely. What was the machine doing when the problem occurred? What error codes appeared? What troubleshooting steps have you already taken? This information helps the technician arrive with the right parts and resolve the issue faster.
Partnering for Long-Term Performance
A maintenance program is most effective when it's supported by a reliable source of parts, technical documentation, and expert guidance. The initial purchase of any automated printing equipment is only the start of the relationship. The availability of replacement parts, the responsiveness of technical support, and the clarity of the documentation all affect how much uptime you achieve over the years.
When evaluating potential suppliers, consider asking about:
-
Parts availability and typical lead times for critical components.
-
The format and completeness of maintenance documentation.
-
Remote diagnostic support options.
-
Training programs for operators and maintenance staff.
A supplier that provides detailed maintenance manuals and quick access to spares can significantly reduce the burden on your internal team. Learn more about maintenance-friendly printing equipment and support resources.
Preventive maintenance is not the most exciting part of running a print shop, but it's what keeps the exciting parts—the jobs, the deadlines, the creative work—on track. A machine that's cared for every day repays that attention with consistent prints, predictable schedules, and fewer stressful mornings.